My top 10 tips for a better bake (the long version)
If you don't fancy reading so many words then scroll to the bottom and click 'newer post' to take you to the short version of this article.
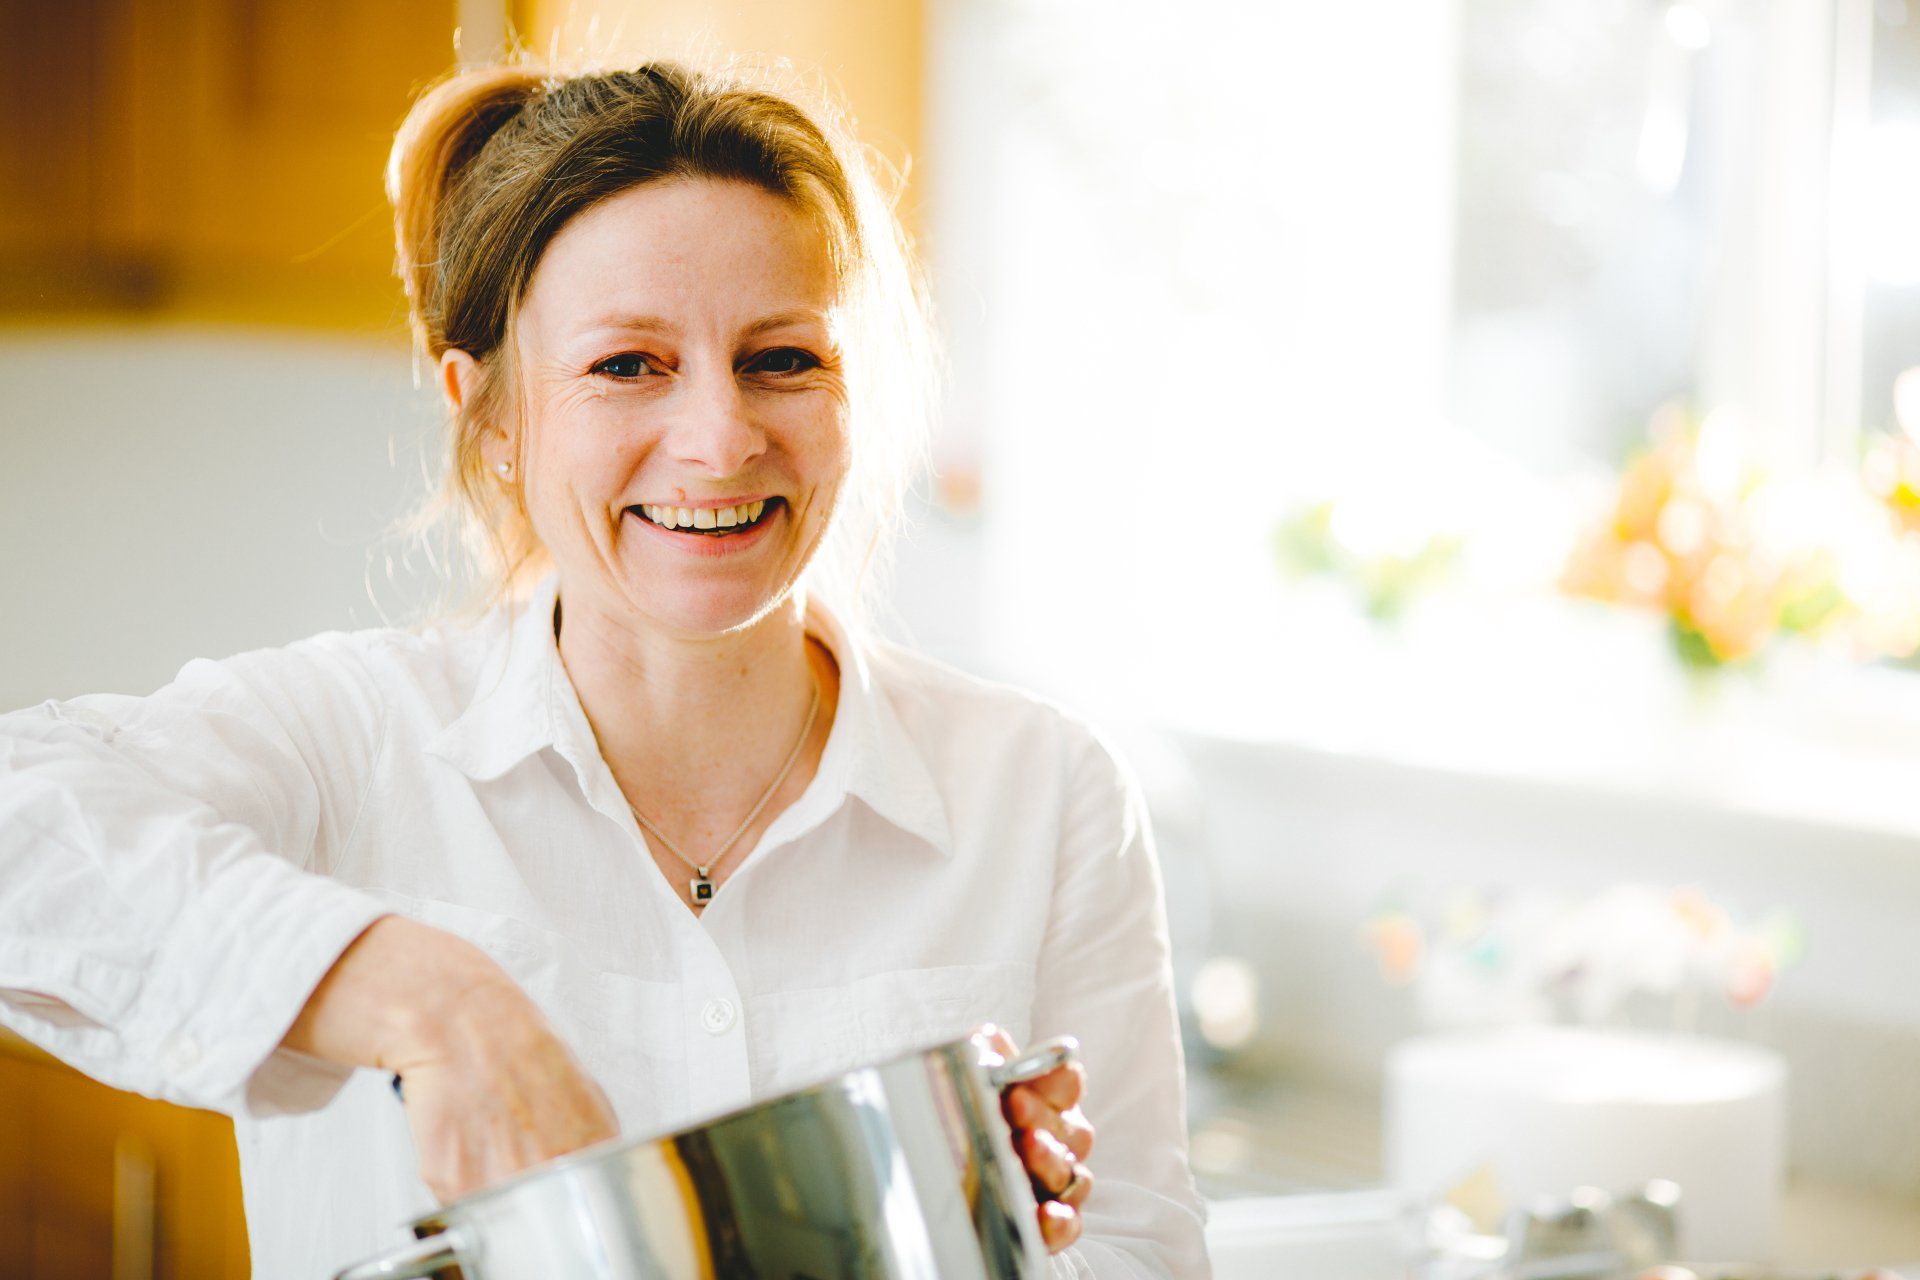
Baking is the thing. There's no point in your cakes looking good if they don't taste great too. And the trouble with baking is that it's all behind the scenes. Nobody sees the hours of work and experimentation that go on in the kitchen achieving that perfect bake. So rewarding when it goes right, so frustrating when it goes wrong - tears and gnashing of teeth, late night and early morning trips to the shops to buy more ingredients and start again. Been there, done that.
There's one particular occasion from a few years ago I remember being in Asda at 6.30am buying more ingredients for a lemon sponge after a horrific cake fail the night before. Coldplay's 'The Scientist' was blaring out over the tannoy into the empty aisles: "Nobody said it was easy, no-one ever said it would be so hard, I'm going back to the start" crooned Chris Martin. I can laugh about it now, but I actually stood there with tears rolling down my face. The decorating part I've always found easy. The baking part I've shed blood, sweat and tears over.
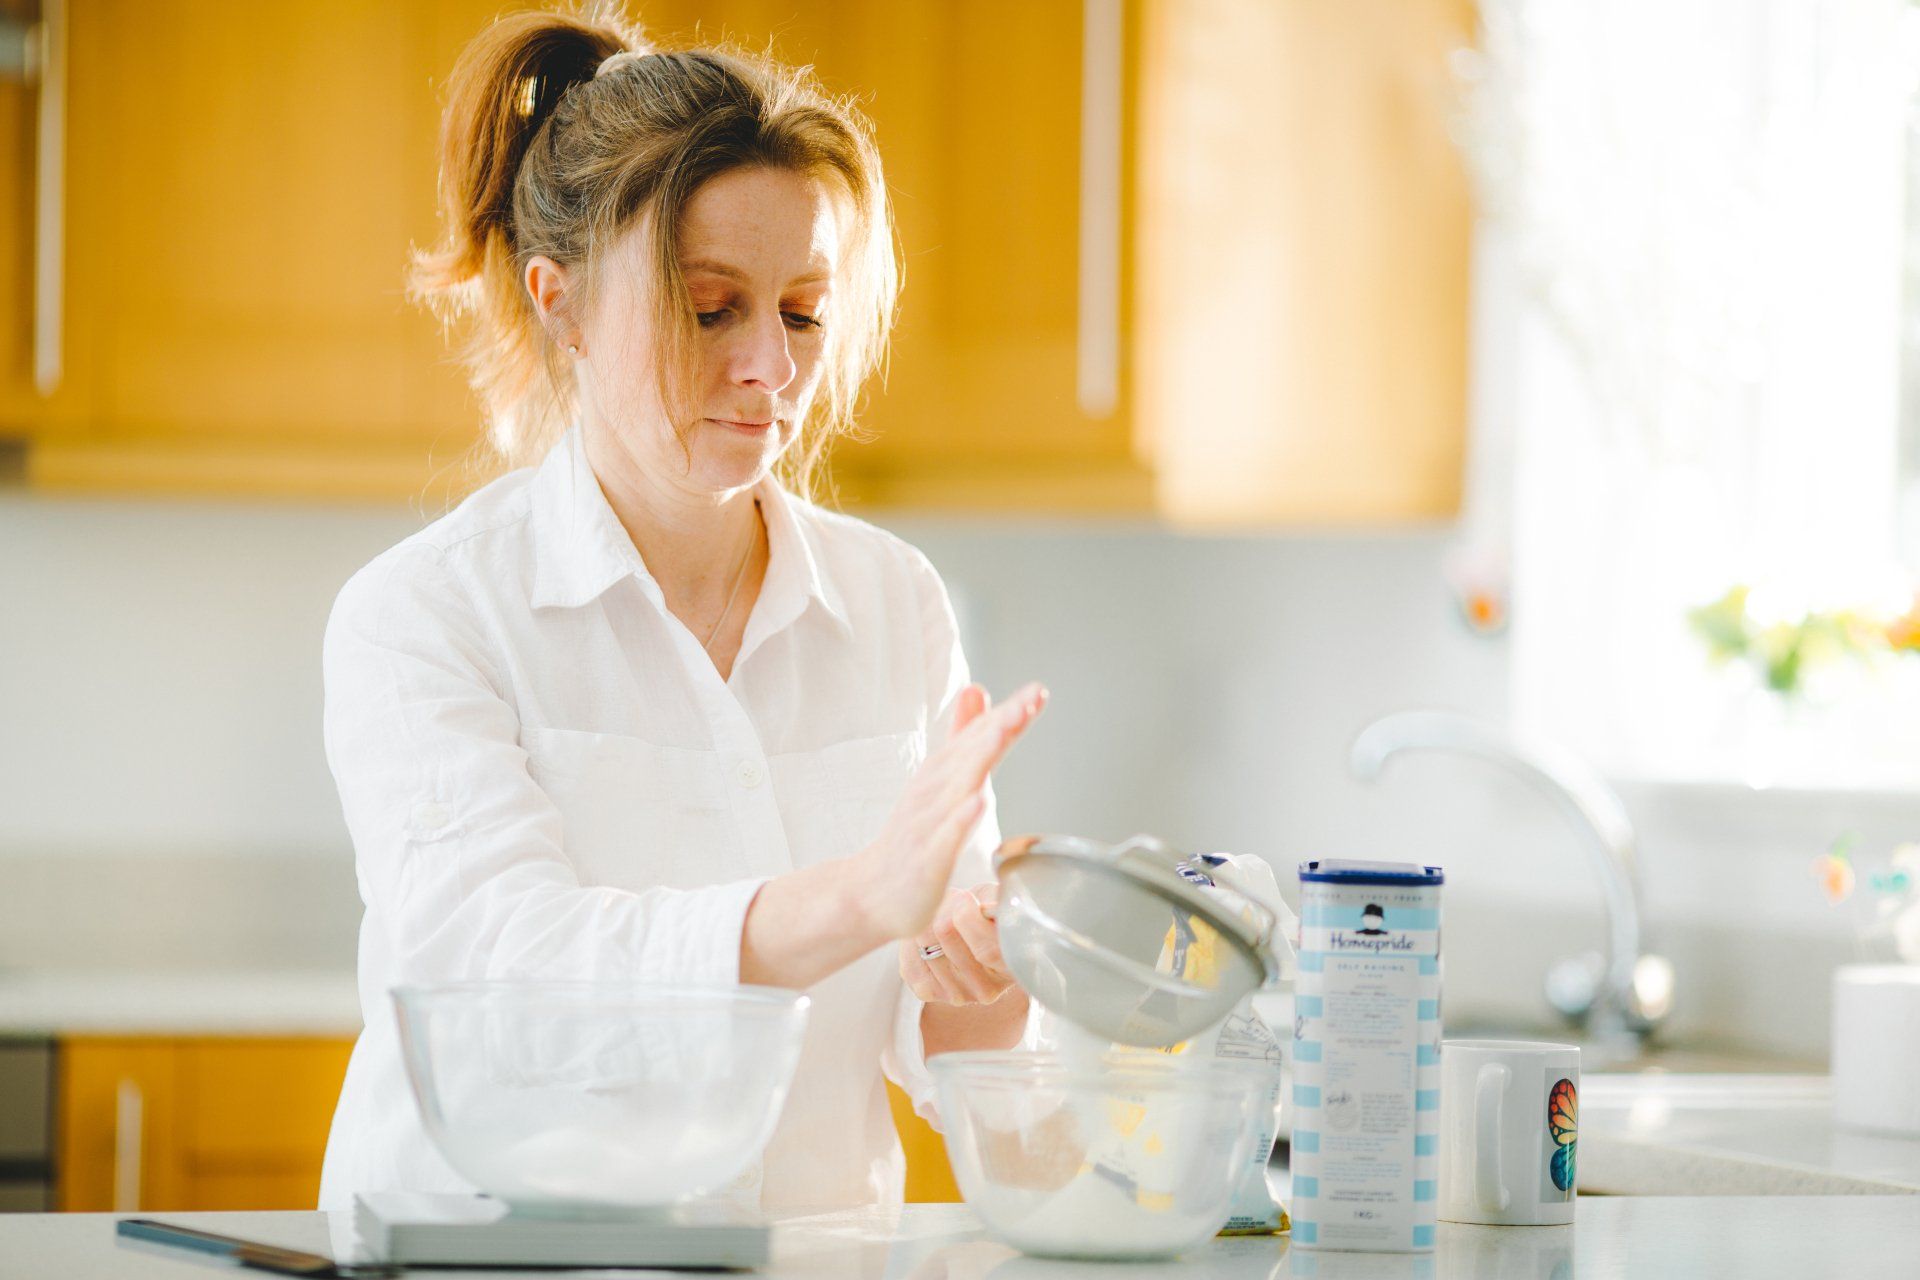
Tip 1: All ingredients at room temperature, and ingredient quality
If your butter is too cold it will take more effort to beat, resulting in a potentially dense cake. If your eggs are too cold your mixture is more likely to curdle. It's important to make sure all your ingredients are at room temperature before you bake. Take your butter and eggs out of the fridge the night before. My kitchen is generally cold, but I have a shelf near where our water tank is kept, which is ideal to pop my butter and eggs on to the night before I bake. The result is the perfect temperature, not too hot, not too cold.
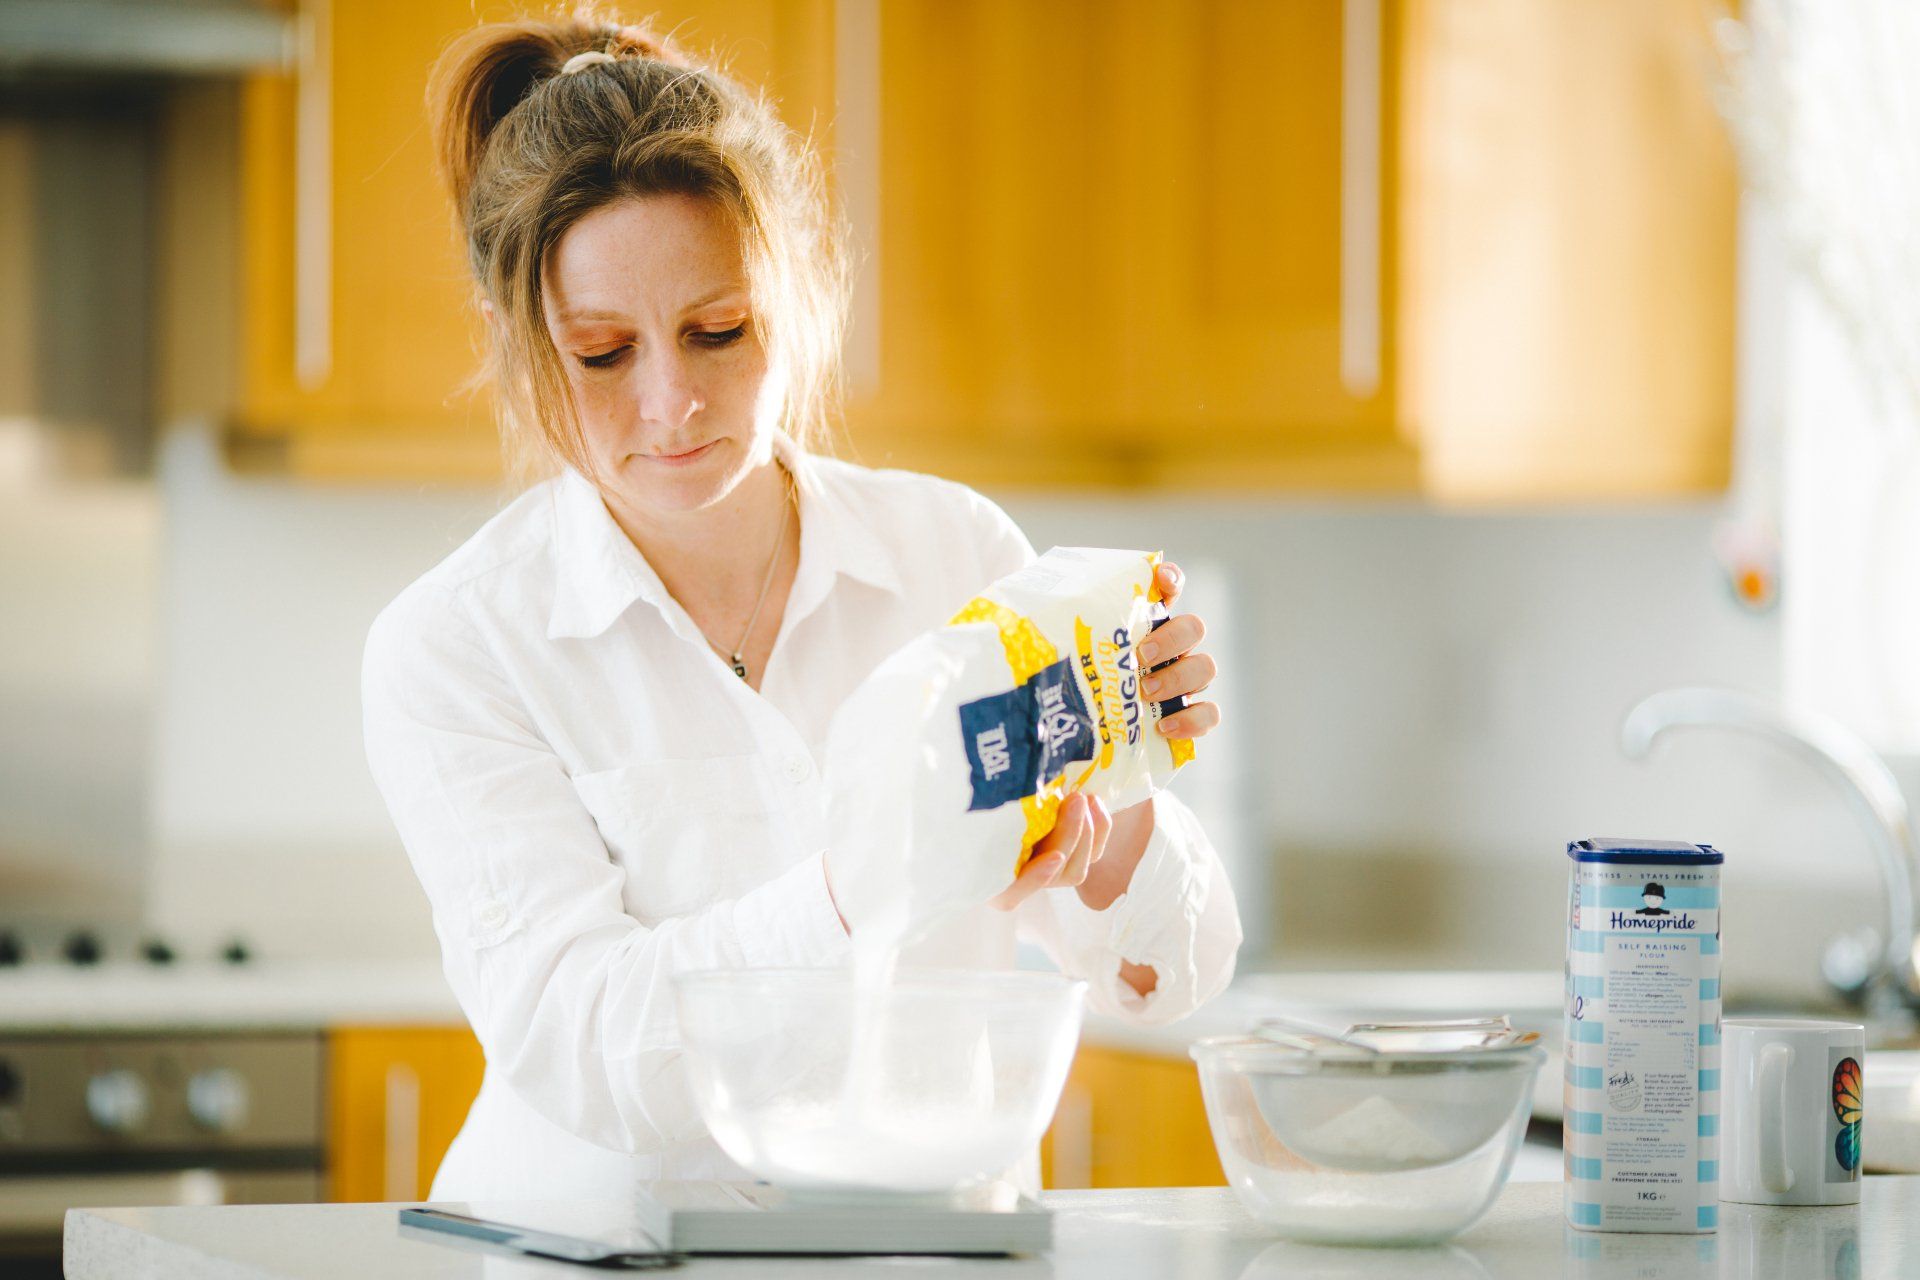
Ingredient quality is important too - self raising flour is the prime example. Do experiments with different ingredient brands to see which works best for you and the outcome of your bake.
Tip 2: Under beating your butter and sugar

Tip 3: Over beating your butter and sugar
The exact opposite to under beating. You leave your beater on for too long or maybe even walk away and start doing something else and forget it's running. The results of this can be a bitterly disappointing sinking in the centre of your cake with perfectly cooked but glue like patches in the centre. The rest of the cake still tends to be decent enough, but these areas are just too dense and they look awful. Straight in the bin. So it's a fine balance between under beating and over beating, and something that just comes with practice.
Tip 4: How to deal with curdling
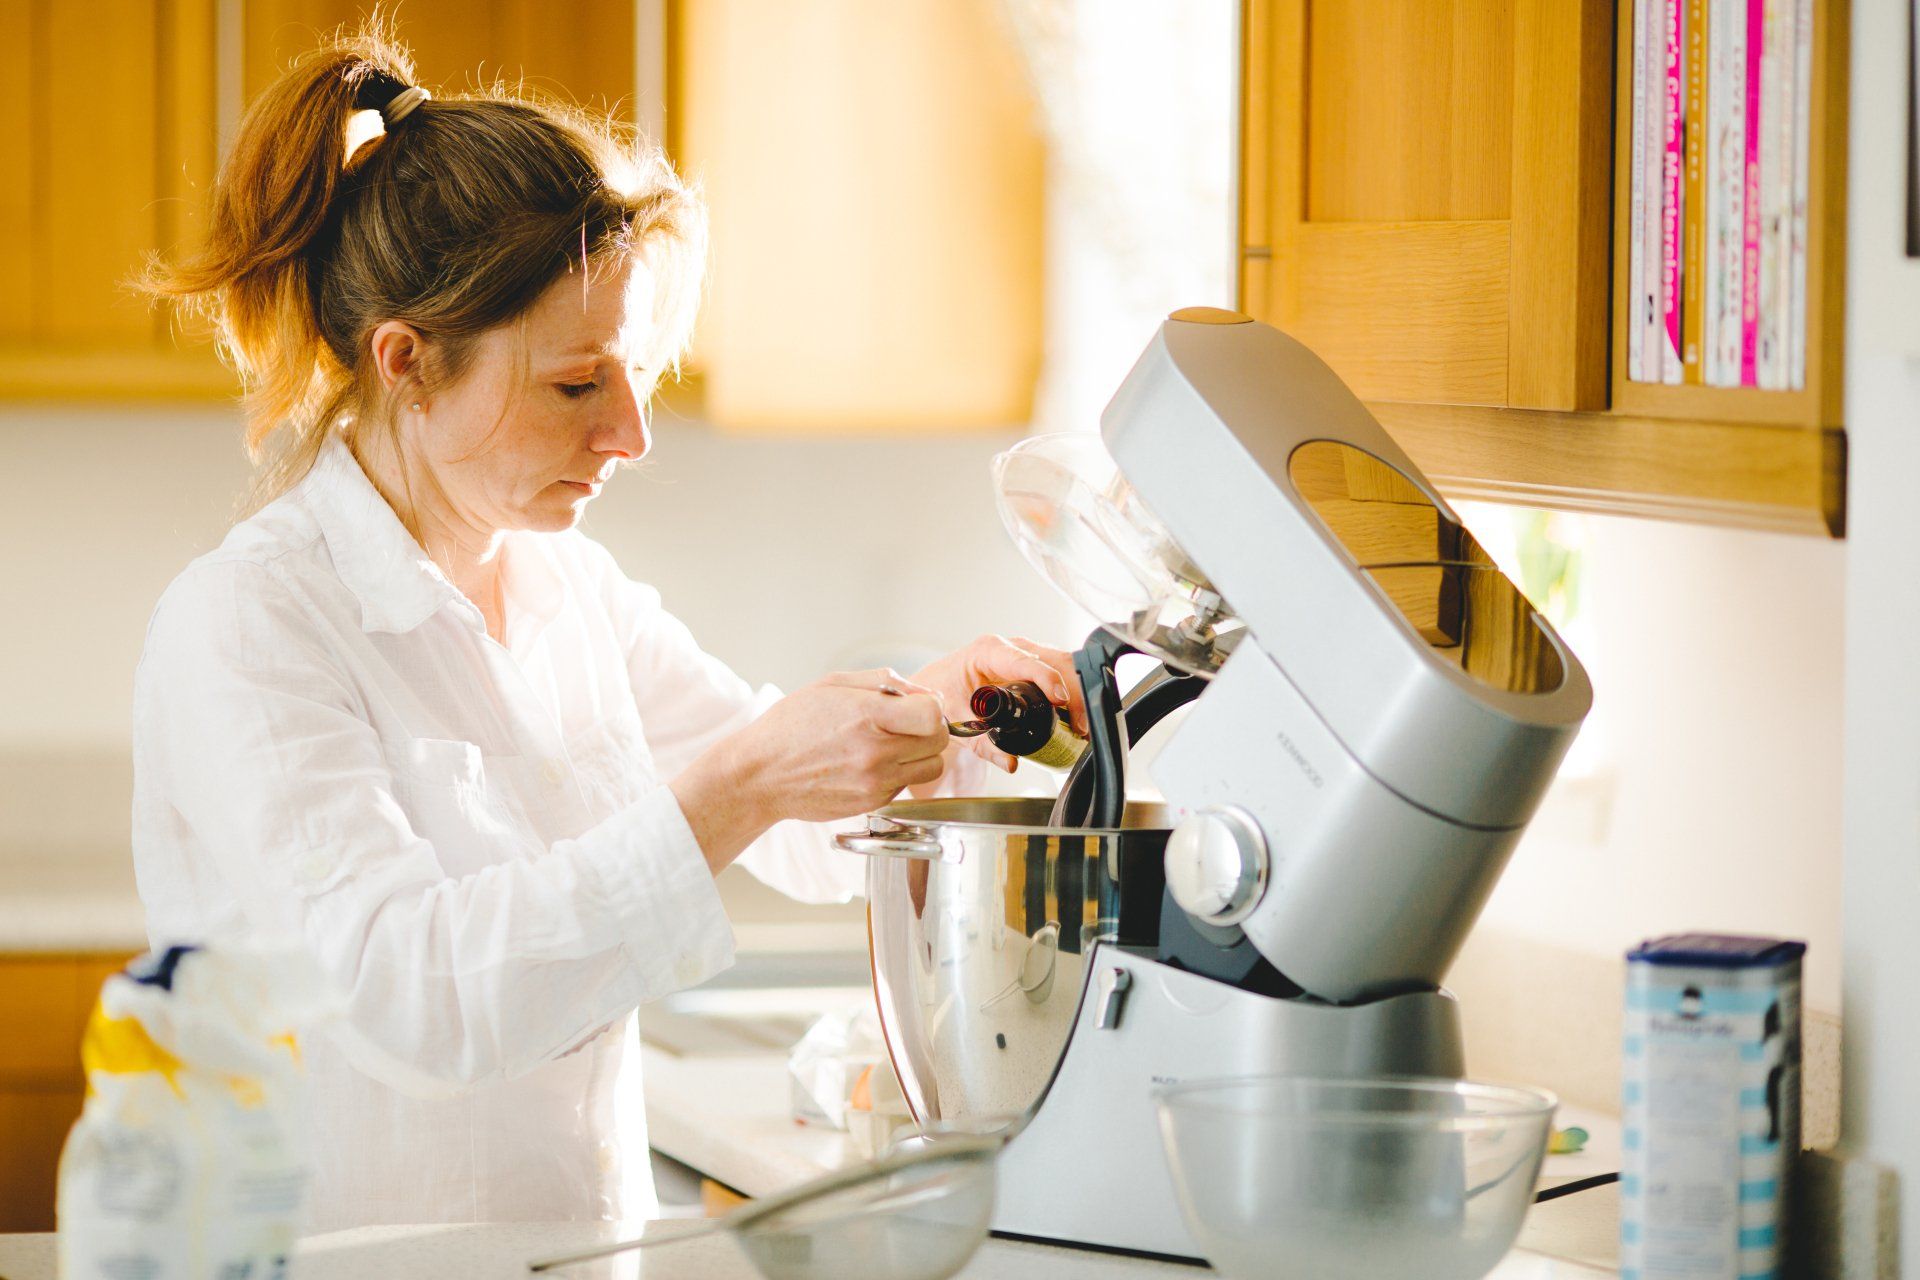
The egg stage is always the scariest one (for me!). If your eggs are too cold your mixture will almost certainly curdle. Even if your eggs are at the correct temperature curdling is a big possibility. You can avoid it as best you can by breaking your eggs into a separate jug and beating them briefly with a fork, then adding them slowly to your mixture a bit at a time on a low to medium speed. Incorporate each addition fully before adding more. If you see the beginning of curdling (the scrambled egg look) add a spoon or two of your flour to rescue the mixture.
Tip 5: Over beating your flour
Tip 6: Know your oven
Everyone's oven is different (annoyingly!). What works for one person might not work for another. I have two ovens - a fan and a conventional. They're both completely different and give me different results. If your cakes come out domed you might want to try turning your oven down a bit. Baking belts sometimes help too - I've had variable results when I use these but I know some people swear by them. If the sides of your cake come out too dark baking belts can also help with this. I tend to wrap newspaper round the sides of my tins to prevent dark edges. If your oven is particularly drying, putting a small bowl of water in the bottom while you're baking can help with this. Cake tins can also make a big difference. I have one cake tin which gives me burnt edges no matter what I do to try and prevent it. I keep meaning to just throw this one in the bin as I never use it any more for this exact reason. Experiment with your oven and see what works for you.
Tip 7: Rubbish recipes
Not all recipes are created equal. I fought for years with a particular madeira cake recipe, wondering all the time why I couldn't master it - it always turned out really dry. In fact so much so, when I made this cake for anyone (luckily just friends and family back then) I used to supply it with a big jug of cream. It took me a long time to realise that the recipe just wasn't a good one - it had been nothing I was doing particularly wrong. That lemon recipe too (the traumatic Asda one) - when it worked well it was heaven on a plate. When it went wrong it went waaaaay wrong, straight in the bin every time. It was a gamble every time I baked this one, not knowing how it would turn out till I cut into it. Many a precious hour was lost to my experimenting with this recipe, trying to pin down the exact reason for success or failure. I never did get to the bottom of it, and eventually admitted defeat and moved on to a different and entirely more reliable recipe. So the moral of the story here is that sometimes cake fails can be caused by something you're not doing quite correctly, but at other times it might be nothing to do with you, it might just be a bad recipe. Park it and move on. Life's too short.
Tip 8: Experimentation
This is my favourite one. I think the number of hours I've spent 'experimenting' with different baking parameters has run in to the hundreds if not thousands. For each new recipe I try I test it to death. If it doesn't pass the first taste test it gets binned straight away. If it tastes good then that's fantastic, but it doesn't stop there. I carry out a shelf life test over a number of days to see how long the cake stays lovely for. All the flavours on my cake menu are lovely up to 7 days, and some a bit longer. So when I bake a cake for a customer I know and can be confident how long its shelf life is going to be, no guess work involved. For better or worse too, I never trust anyone else's word when it comes to shelf life with any recipe. Not until I've tried and tested it for myself.
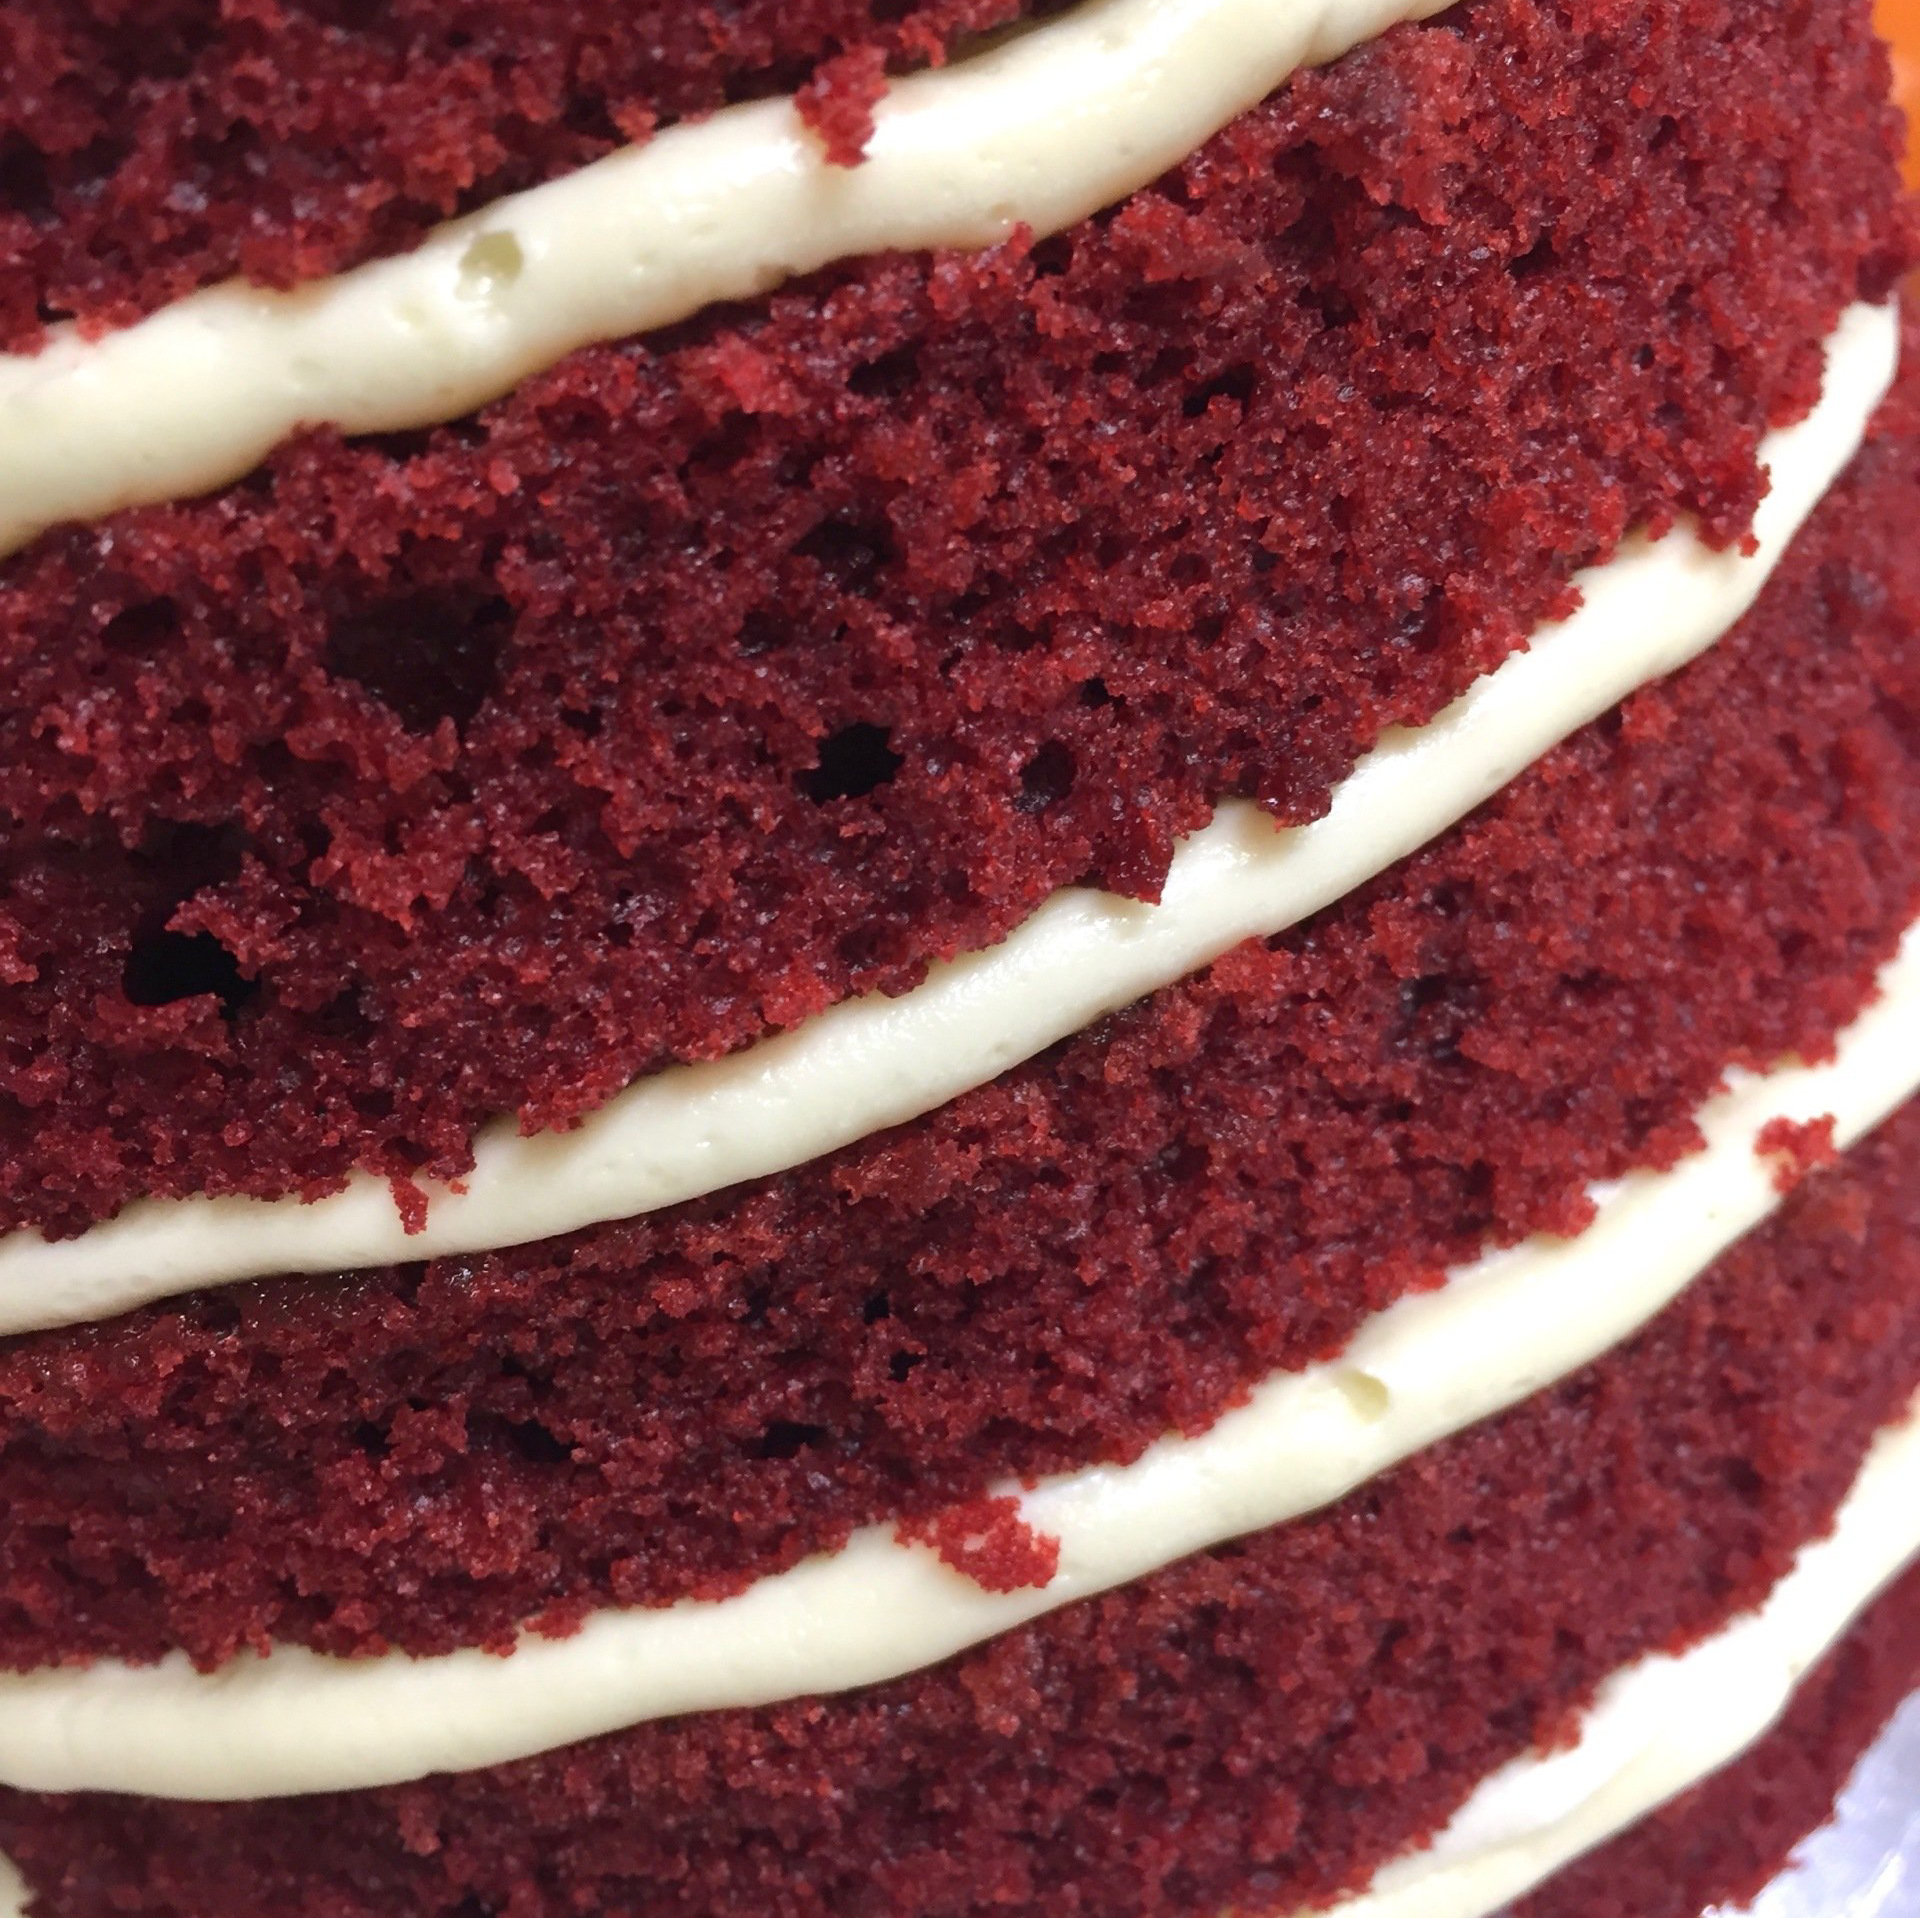
The next thing is cake height - most recipes don't give a result tall enough to get a clear 2" of cake once the top is trimmed off. Each recipe needs tweaked, usually by adding more batter to the cake tin, till the result ticks the box of being tall enough. I then scale the recipe down and up for smaller and bigger cake tins (based on the volume of each tin) and I have this all typed up and printed out for each of my different recipes.
Tip 9: Contingency time
Thankfully it's been quite long time since I've had to rebake a cake. I hope I'm not jinxing myself by saying it, but through all the years experimentation and trial & error, I'm in a pretty decent place now when it comes to baking, everything ticks over reliably and consistently (mostly!). One thing I've always done though, and still do to this day, is build in contingency time to my weekly plan. Just a little bit extra time in case the worst happens and you find you have to rebake. I was glad of it on many occasions in the early days. And I'm happy to say that because of this contingency time (and the desire only to produce the very best) I've never let a customer's cake out of my kitchen that I wasn't 100% happy with. It would fill me with horror to send out a cake that I knew was less than the best I could achieve. So my contingency time has been my safety blanket.
Tip 10: An iron will & help from your friends
Everyone who makes cakes for a living needs an iron will. The good news is that if you do make cakes for a living then you actually already have an iron will, you don't need to go looking for it, it's already there. That will to battle on through all the ups and downs and caketastrophes (we've all had them) and come out fighting. Sticking in there for hours and days at a time, often till the wee small hours of the night (and if you've done a night shift or two, join the club).
Being in a great community of caking friends helps too - everyone working alone in their kitchen but together to achieve that end goal. Troubles can be shared and problems can be solved. If you're having an issue with something, chances are it's happened to somebody else before you, and someone will be able to help. Team work of the highest order.
To Joe Bloggs cake making is just chucking some ingredients into a bowl and voila, there you go. But it's so much more than that. For all you natural bakers out there, I take my hat off to you. I am not a natural baker, never have been. My cakes are good because of the sheer number of hours I've spent perfecting them. And I know I'm not the only one.
So the next time you buy a hand made cake, stop and have a think for a minute about the sheer amount of work your baker has put in perfecting their product. It's more than flour, sugar, eggs and butter. Much more.
And we've only talked about baking today - decorating is a whole other ball game...